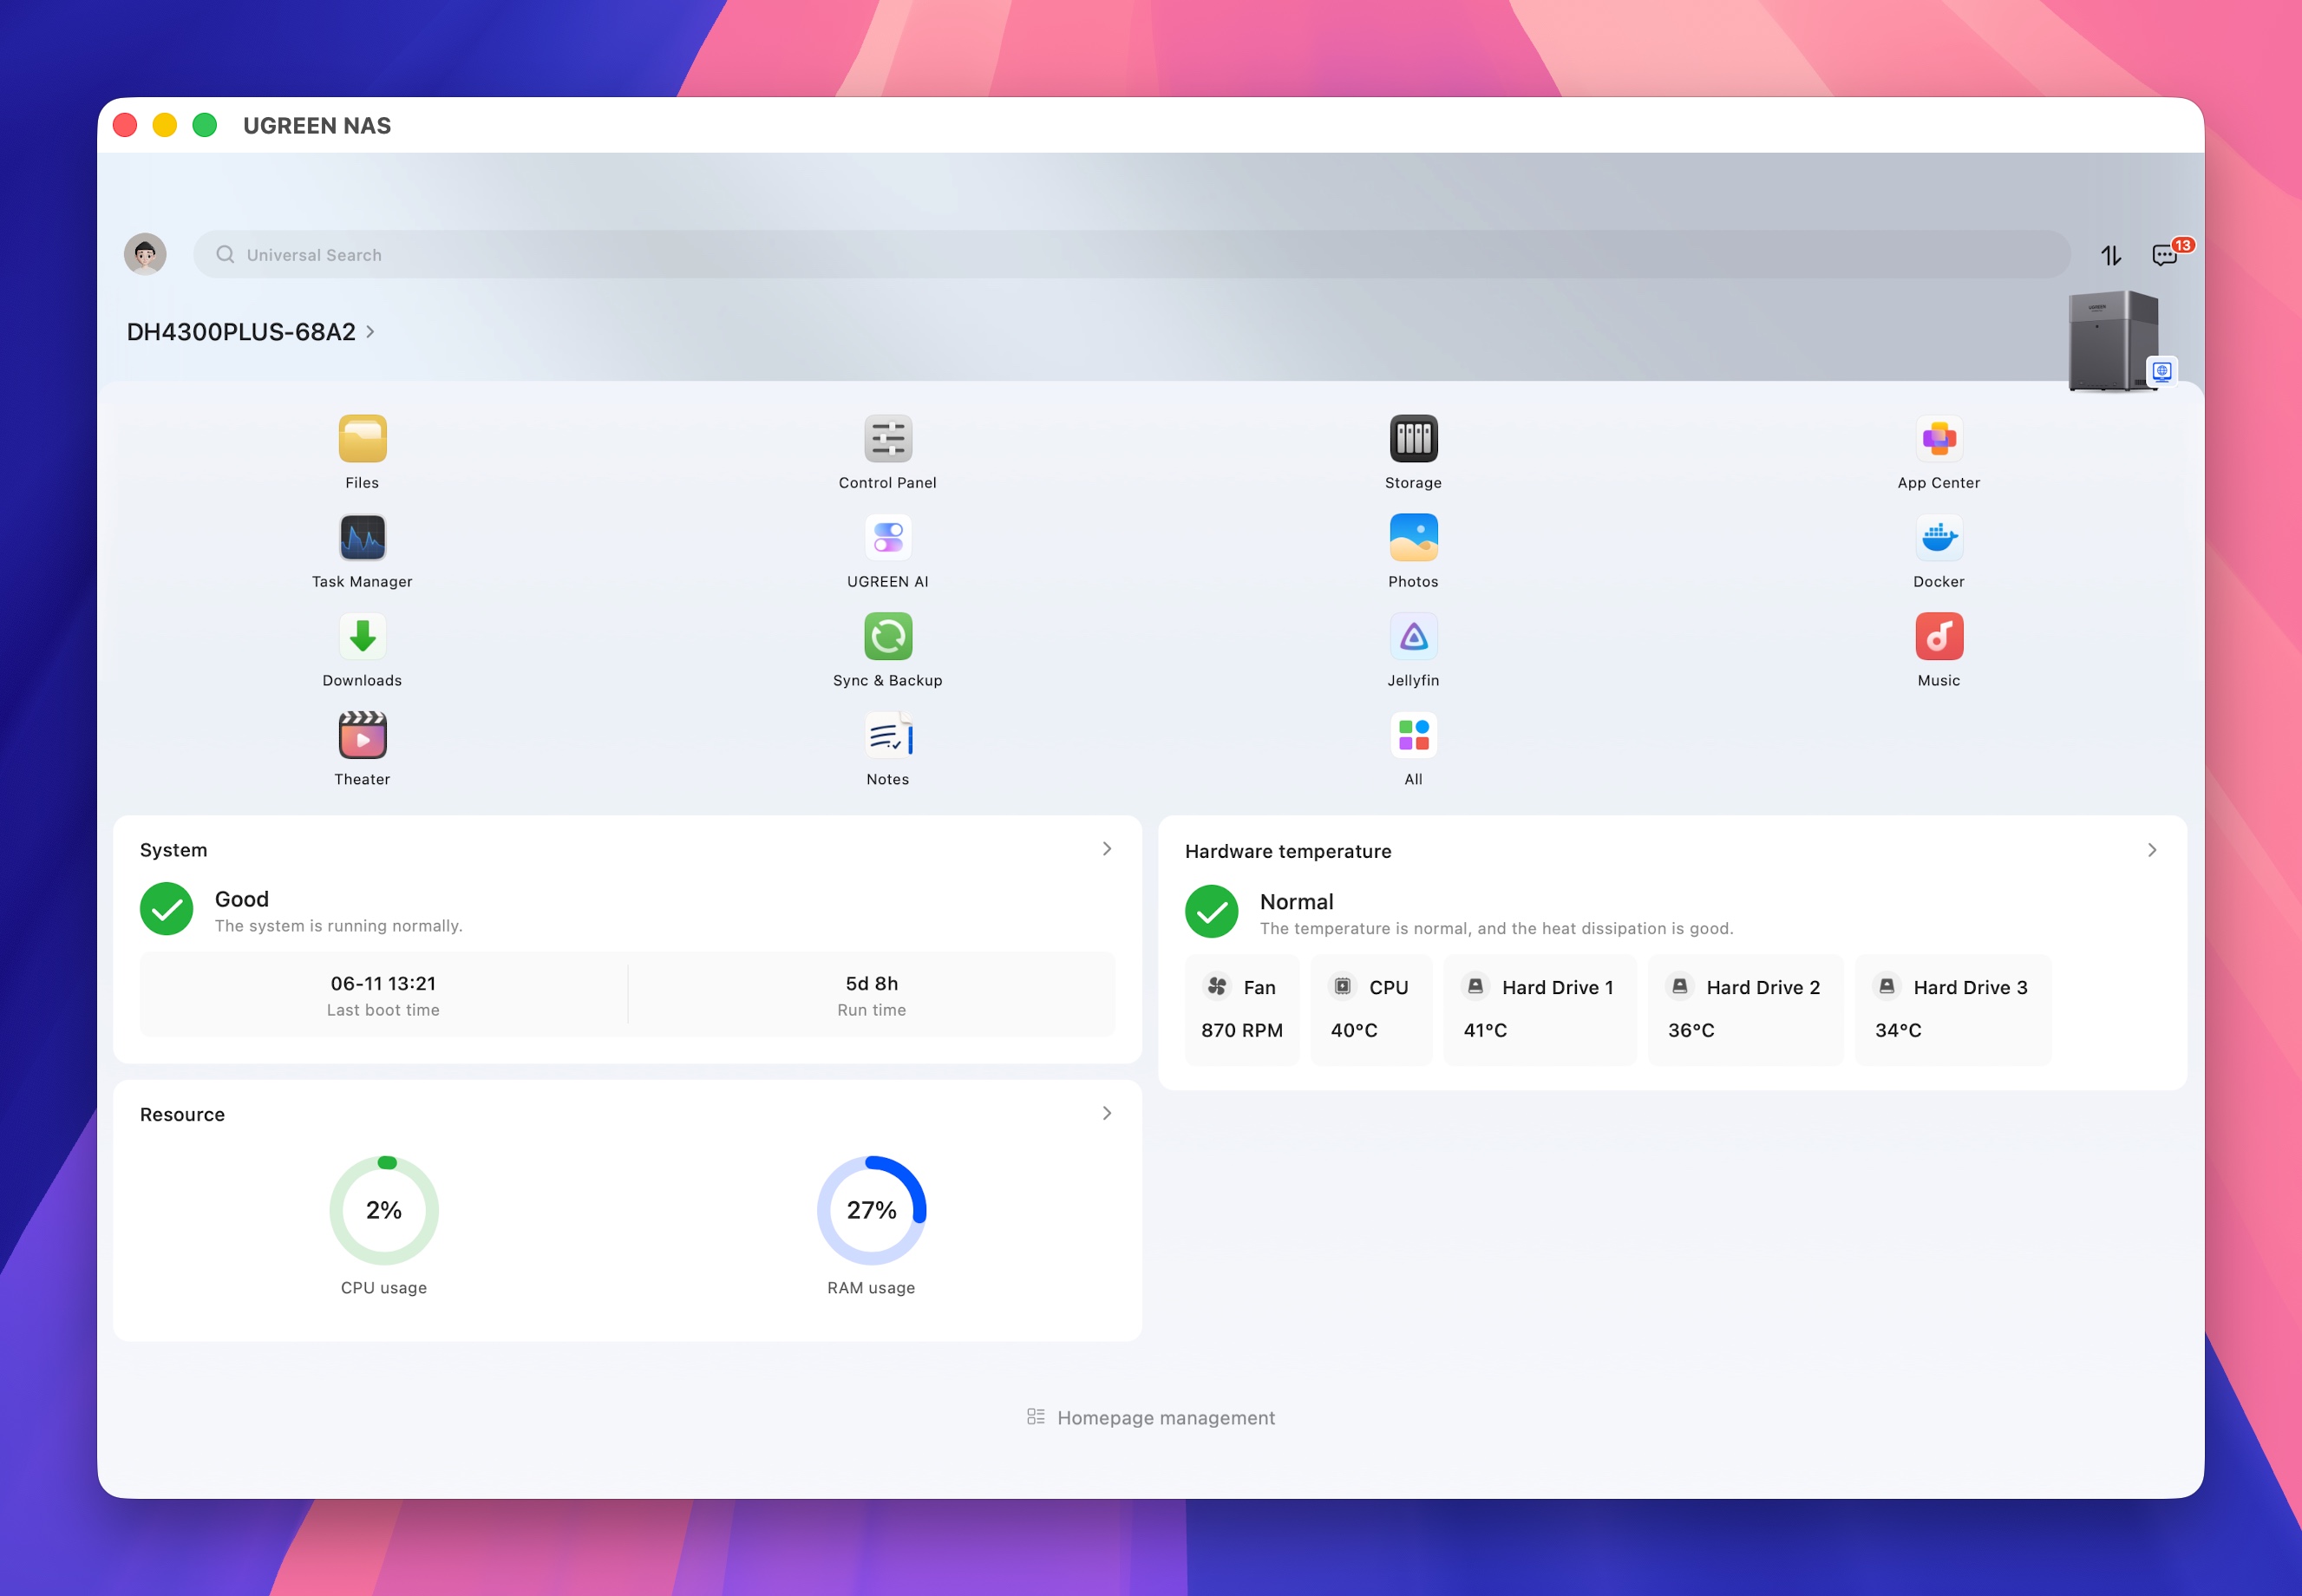
Ugreen NAS installed
Adding On Site Storage with a NAS
It must be about 10 years ago I had a NAS. I can’t remember the brand of it now, but it was one that was very popular at the time, and then they sort of fell out of favour. At some point I decided that I didn’t really need it, so I sold it and forgot about having network attached storage for some time. What I have been doing instead is to have a number of SSD’s connected to my computers. And using SuperDuper, which is a programme for backing up your computer to do regular backups for me. I have one 1TB SSD drive called Shasbat which backs up the operating system of the computer and so gives me a backup of all of the applications and all the basic stuff. Then I have another 2TB SSD drive called Wookie which is my main drive for data. That drive gets backed up to another SSD drive called Rocky. I needed that extra drive because my Mac Mini has only a small amount of storage space 256GB, because it was cheaper that way. Then I have a drive called Hodor2 this is another drive I use for storing data. That drive gets backed up to another one called Sandor. Then, of course, with the Mac, it makes sense to run Time Machine, so I have a 2TB drive called Ygritte, which I use for that purpose.
While describing this, I realised I don’t have anything backing up the Macintosh hard drive. I do have one more 246 GB SSD drive that I could use for that. The actual Macintosh hard drive doesn’t really get used for much. It’s there as a backup, and all my system is basically on Wookie.
As you can see, I’m a great believer in having a good backup system. We should have three copies of files on two different types of media, and one of them should be off-site. Although I’m not too worried about the off-site part of it, although I have been using iCloud, and that took care of offsite backups to a large extent. But that’s going to have to change because I think it’s costing too much money in the long run to keep iCloud going at €10 a month. And that’s why I decided to get the new UGreen DH4300 Plus network attached storage device.
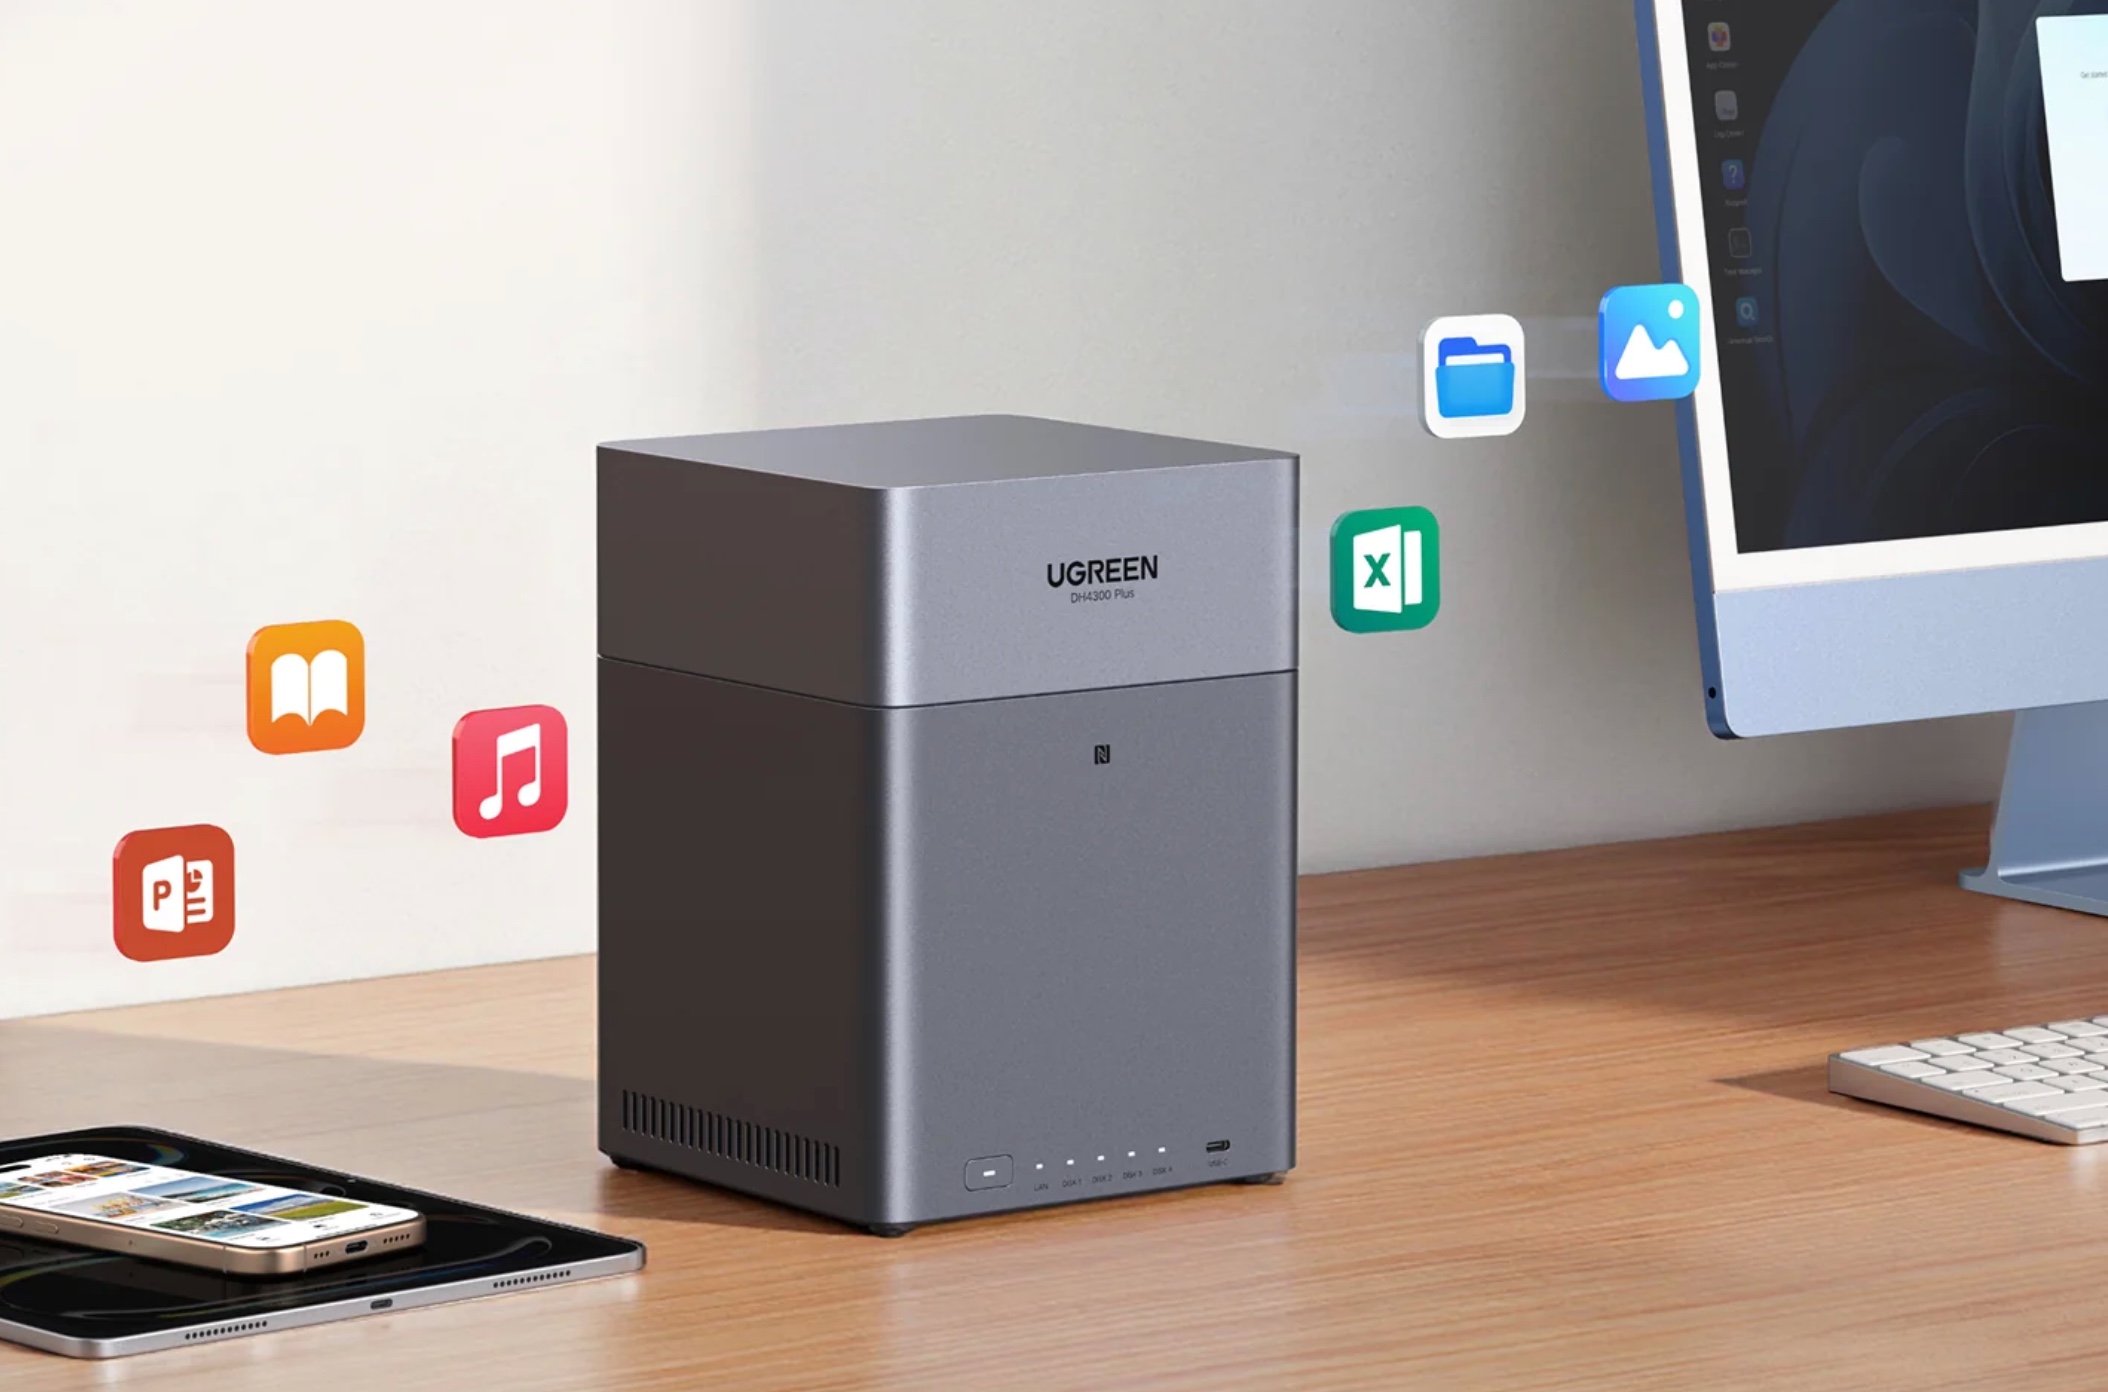
The cost of buying network-attached storage
Initially, I thought I could just get the device and use some of the hard drives I have sitting in drawers around my office. I have a couple of 2 terabyte drives and some other 1 terabyte drives. I thought that would be enough to get me started with the network attached storage. When buying the device, I got a 4-gigabyte drive to have as a buffer, as it would be larger than what I already needed. But….. It seems that the network-attached storage prefers a certain type of drive that will be running more often than the drives you have within your computer. So the day after getting the UGreen DH 4300 NAS, I had to buy two more drives. I could have just bought one drive, but that would only give me two drives in the device. You need three in there if you want to use the RAID 5 version of the storage. Raid 5 is optimal for me because if one of the drives fails, I can swap it out with another drive and not lose any data. So after initially thinking I could do this without spending too much money, I had to add another two drives. The drives cost around about €175 each. And this was on top of the €400 needed to buy the NAS in the first place. With these three drives in there, each of four terabytes, that gives me 7.2 TB of actual storage space. I still have one drive bay available. When it comes to Black Friday, I’ll probably buy another 4 terabyte drive and put it in the extra bay. With that, I’m going to have plenty of storage available, around 12 terabytes. I can either add it to the RAID 5, or what I could do is to just leave it sitting there as a hot-swap drive so that if one of the other drives decides it’s going to fail, I can quickly be up and running with that new drive. Or another thing that’s possible is to just leave it in its box and have it as cold storage that you only get to use if something actually does break. Otherwise, it just stays in the packet waiting.
Having fun setting it up
I followed the instructions and I connected the drive using an Ethernet cable to the router. I also have my main Mac Mini computer connected to it, as well as another iMac which my wife uses. For some weird reason, the system didn’t recognise the NAS. I ended up having to put it into another room, connecting it to a switch which is also connected to the Wi-Fi, then we were in business. The two extra drives arrived the very next day, and then I had to wait for them to be initialised in the device. That took another nine or ten hours, so I had to wait another day.
I downloaded the apps for both of my Mac computers, the MacBook Pro and the Mac Mini. I then got the iOS and the iPad app sorted out as well. Initially, I did most of the work using the iPhone app, and it seemed to go pretty easily. I just followed the instructions and added some of the apps that are available within the UGreen NAS application. It takes time to get used to new and strange software. I definitely needed some time to figure out what each app did and how it could be used. The first part of the job was to set up the storage pool. This involves putting the three drives together so they act as one drive. I made sure to set it up using BTRFS This gives the whole thing more capabilities.
What can you do with this network attached storage device?
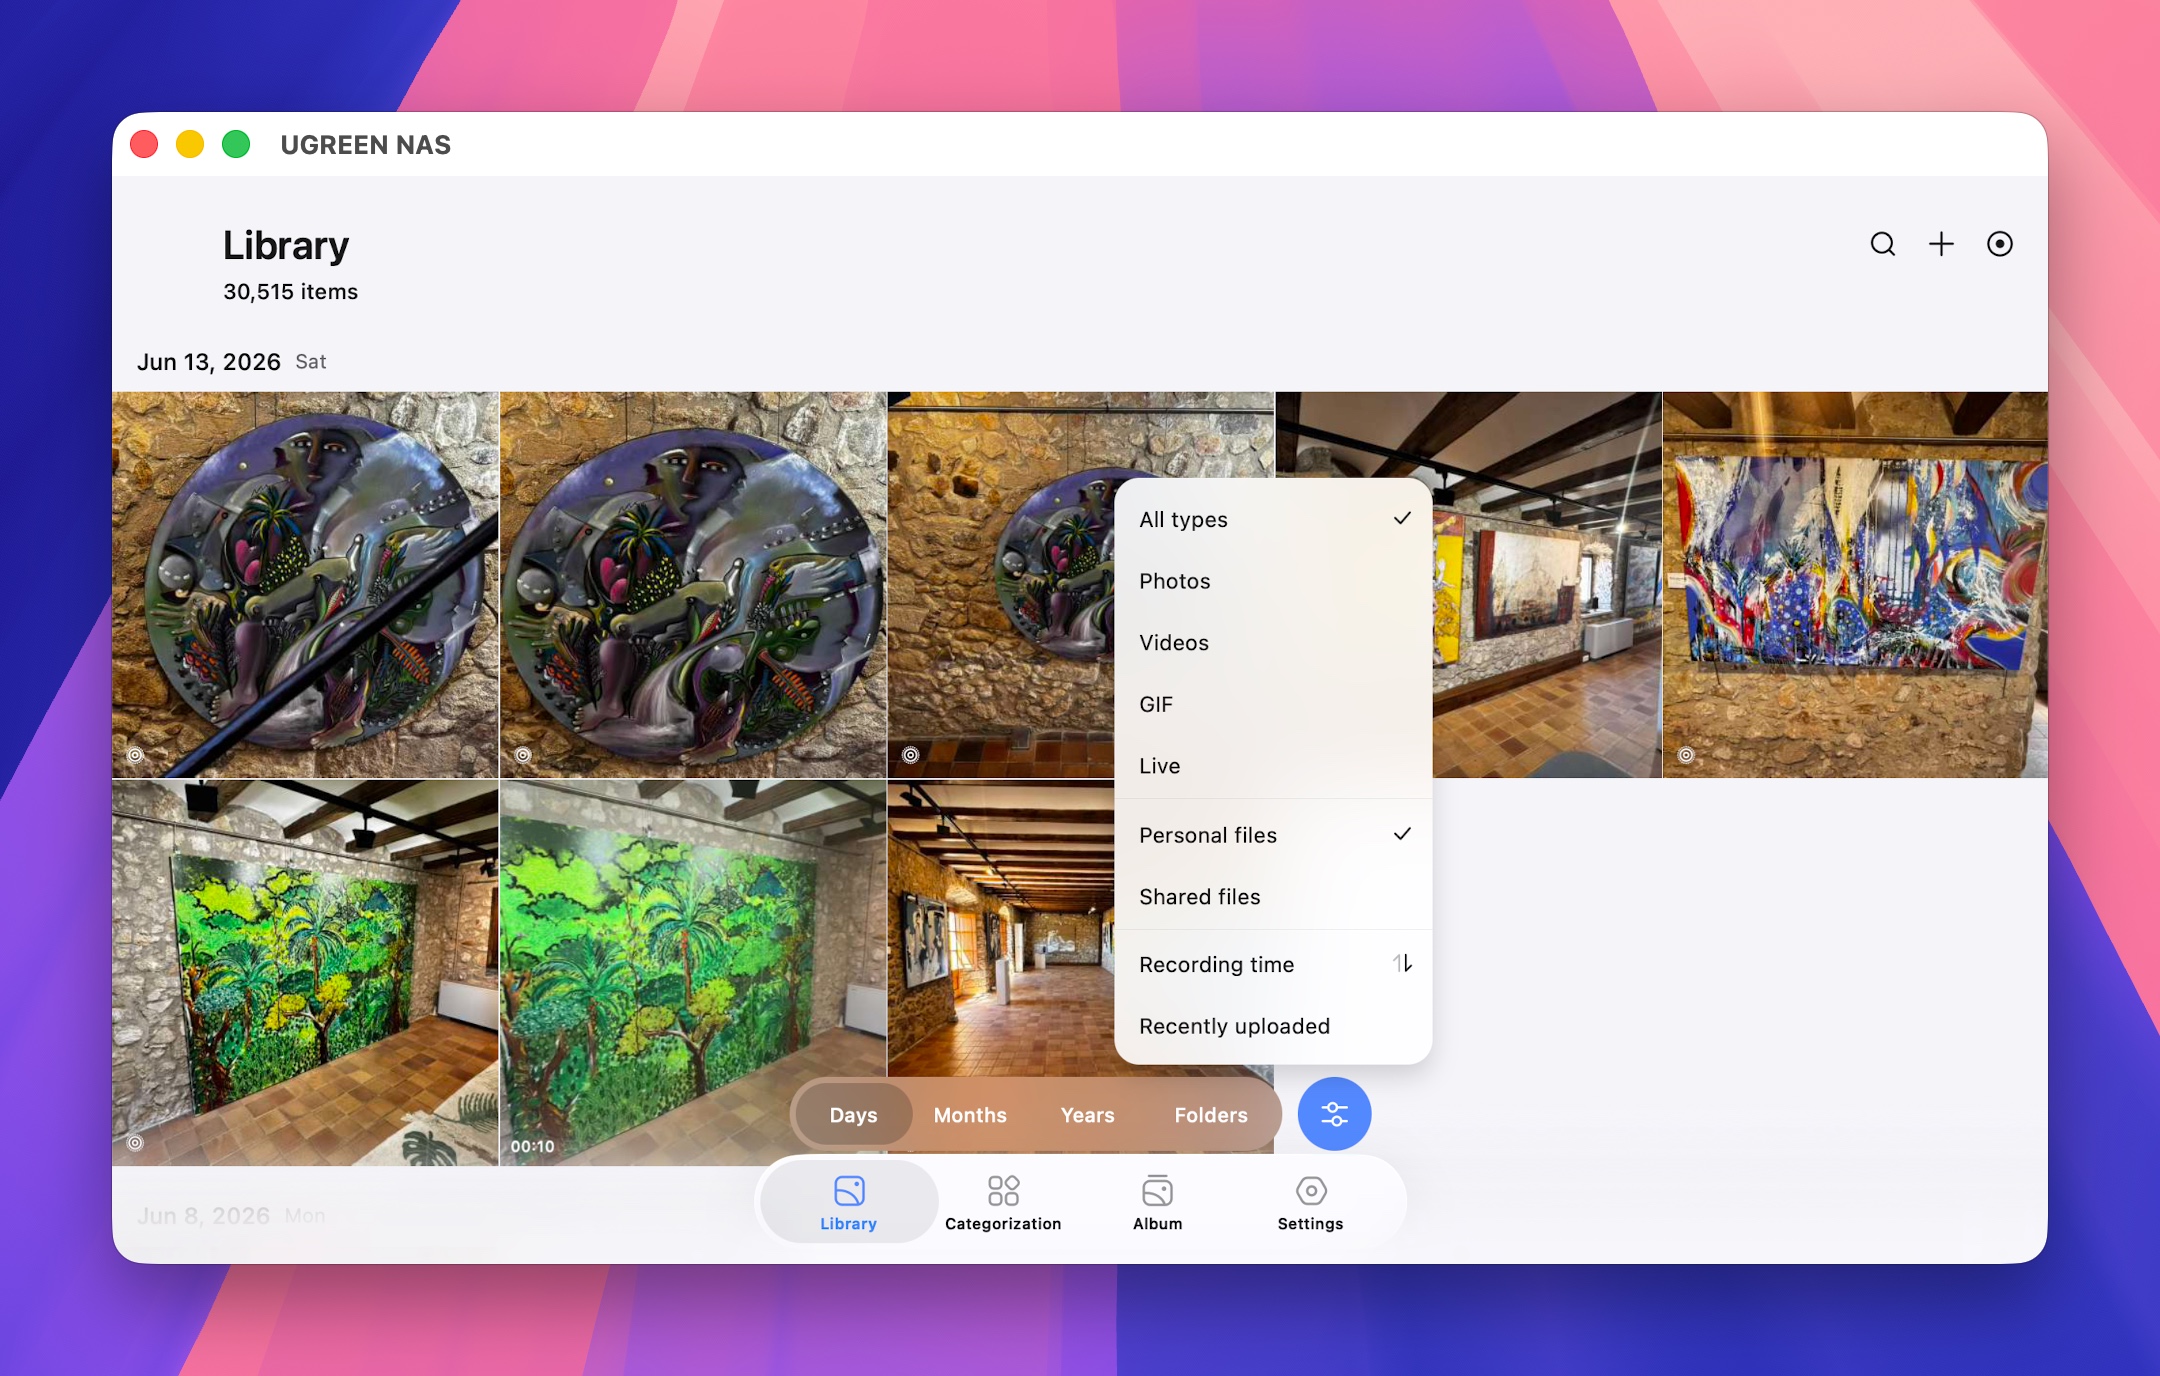
Just like everybody else who has an iPhone or any other type of smartphone in their pocket, I have a lot of photographs. It is important that photographs taken on my phone go directly into the network attached storage, as well as being available within the Photos app on the Mac or the Apple iOS system. As you can see in the picture below, I installed the Photos app, or perhaps it was one of the ones installed by default within the UGreen NAS application. While it is possible to back up your photos library from within the Mac application, for some reason I did it from the iPhone. With the number of photos I have, it took a couple of days to do the job, and my phone got quite warm during the process. At one point, I got one of those cooling blocks out of the freezer to put the phone onto so that it would cool down.
After doing the back up for my own photos on my Apple ecosystem it was necessary to dive in there and do the same for my wife’s photo library. As part of the set up of the network attached storage, I set it up so that I have my own personal space for my files, and there is a separate area for my wife to put her data. It certainly isn’t good practice to have two users mixing together. It would be a mess, and you’d never be able to find anything.
AI in the Photos App
There are some good organisation tools within the Photos app, within the UGreen NAS app. For instance, you can tell it to look at all types, you can just look at videos or just look at photos. Or even view wherever has been recently uploaded. Similar to the Apple Photos app, you can organise it so you can look at days, months, years, or folders. In the categorisation tag, you can see how it’s organised by people, object recognition, and it also does AI recognition of similar and duplicate photos. You can even set up albums. In this case, I’m setting up one just for screenshots, and it’s doing it based upon object recognition. It will use the AI in the background to do it for me, so I won’t have to do it manually. If you go to the AI settings, you can set it up with people recognition, text recognition, similar to how you’ll get photo recognition and image recognition. There were pictures of myself as different people, and it was easy to merge them into a one person album. It seems that if you grow a beard, you become a different person. I did have to do the same sort of thing with photos where the person has grown from being a child into an adult.
It’s also possible to set up an album based on the albums you have with a new iPhone library. So you can select an album that you have already made in the Apple ecosystem. On this screen, it seems like a good idea to select what I have already selected as favourites.
Generally, I’m quite happy with the way that it does the folders, albums, and everything else within the Photos app. I was a little bit confused with the wording of the image location information, whether I should switch it on or not. When I first read it, it looked like it was going to take away the image location, but with what I’ve backed up so far, there are no image locations or maps in there, so maybe I just read it wrong. After turning that on, I found that it is actually setting things up with a map. Cool! It’s actually quite good the way that when you’ve got a location chosen, it will do a slideshow, showing some of the images from that place.
Having all of this set up in the U-green NAS application photos doesn’t stop you from using the Apple Photos app if you need to look at your photos in a different way.
Jellyfin Media server
I have added this application to the system, but I haven’t been able to use it yet because I don’t have any movies downloaded to put into it, but I would like to do this. Using Jellyfin for this is preferred over Plex these days because Plex is so expensive. I also added the app called Theater, which I think also does movies, but I don’t have any movies to show there at the moment. If I want to watch something, I generally stream it from Prime.

I saw that the NAS app was installed on my Apple TV, that’s cool. I have given it a small test run to see if I could stream a movie from the NAS to the Apple TV. It works great. I’m really pleased that it just more or less set itself up. Now I have to collect a few more movies to watch. I’m missing the second of the Terminator series.
Moving files around
This is one of the prime reasons you get a NAS for, moving files around and having them backed up safely and available so you can use them on any of your devices wherever you are. I’m not going to need iCloud storing all my files. Lately, I’ve been disappointed with iCloud because when I wanted to move the files to the NAS, I had to download them from iCloud first, and it took a very long time. If I was actually looking to use those files, instead of getting them just for moving to the NAS it would have been disappointing and annoying. So far, it’s going well with files anyway. I’ve set it up so that I’ve got a connection to the network-attached storage from within Finder, which is important. I’ve got quite a few files, so it did take quite a time to get those files onto the NAS from my computer. I started with moving them manually, but after that I moved some using Chronosync, which is for doing backups and is for organising automatic movement of files from one place to another. My main task was to move my documents folder, which is the one that sends everything off to iCloud, and get that onto the network-attached storage device. I’ve been doing the same thing for my wife’s computer, and I still have to explain how to access those files from the new storage device. While organising my files, I’ve noticed that files are scattered everywhere across all my drives. I saw online that it’s possible to organise files and folders using AI, but I haven’t figured out how to make it work on my computer yet.
Technical feedback from UGreen DH4300 plus
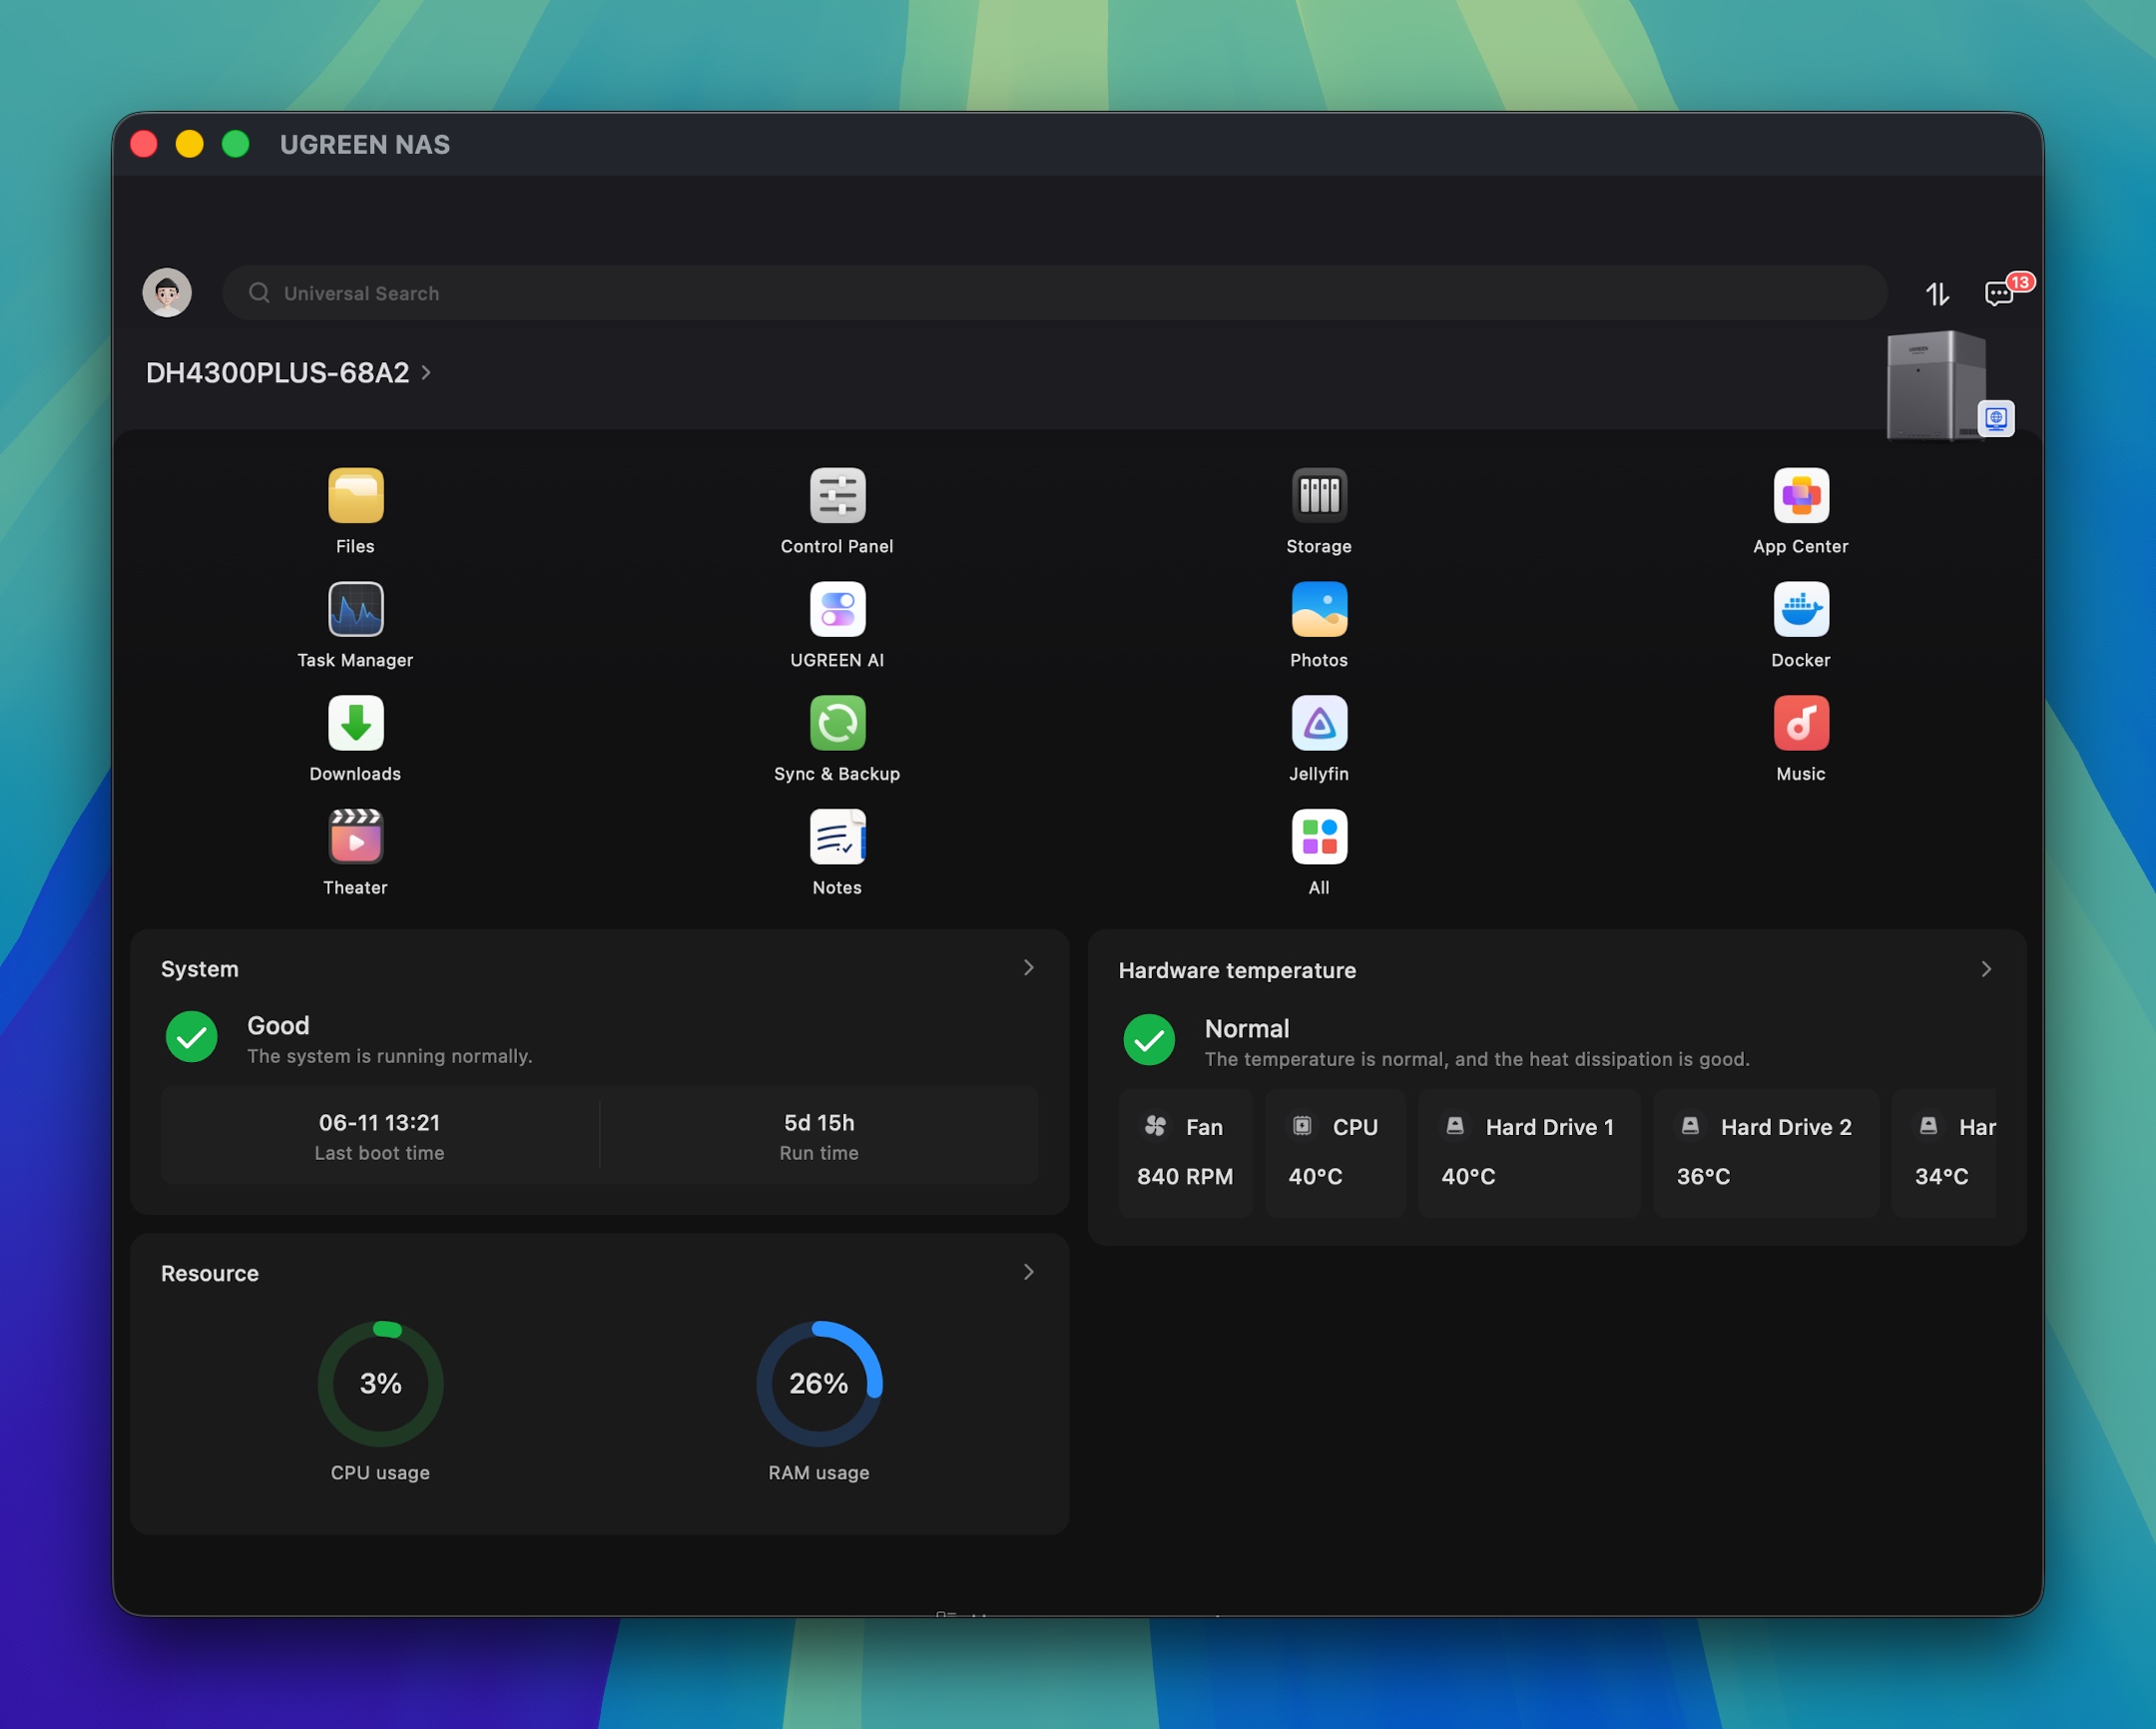
In the control panel, you get information back. It tells you if the system is good or bad and how much resources you are using, such as CPU usage and RAM usage. That card shows you the fan speeds and the temperatures of the CPU and the hard drives. Currently, the CPU is showing 39 degrees, and the hard drives are running between 38°C and 34°C.
There are two-factor authentication options available for this. I haven’t set it up yet, but I will definitely get it done soon. I also notice that I have to re-log into the device every now and then because I am in there quite a lot, doing things, checking things out, and figuring out how it all works. I am in and out quite a bit, so I will leave it until after I have settled down a little before setting up two-factor authentication.
Tailscale on the NAS
I found a tutorial that showed me how to set up Tailscale. I haven’t used it yet to access the device from outside the network, but that is one of the things Tailscale is good for. I haven’t really needed to access it from outside the network yet because I have the iOS device set up on my iPhone, and I’ve been able to get in and have a look at my files in there. Haven’t tried to do anything with those files yet, but at least I have been able to see them, and I suppose I will be able to get at them when I need to.
Seeing the NAS on Linux Mint
This ended up being quite easy to sort out. I just put the correct URL for finding the NAS into the browser, and there it was. Since doing that, I’ve been able to move files from the Linux machine onto the shared folder. This shared folder is what I use for moving things between myself and my wife.
One Week Later with UGreen dh4300 NAS
Had to run new Ethernet cables to upgrade to Cat6. It was just going so slow with Cat5 cable. It was ridiculous. I also had to get a couple of new switches to be able to set it up. Thought I could do with one switch with eight ports, but then I couldn’t see the NAS on Wi-Fi. I ended up having to connect the mesh Wi-Fi to the router first of all and then go from that to a switch to everything else. It’s made everything else downstream from the WiFi, and with that I was able to see the NAS MacBook Pro, which I don’t connect to through Ethernet.
What don’t I like about the NAS so far?
The software mostly works okay, but when I’m looking at the photographs, it doesn’t give me right‑click options so I can do something with a photograph, like delete it. It also doesn’t allow me to drag‑select. So if I want to select four or five files—or four or five photos—and delete them, it won’t let me do that.
I notice that sometimes it loses connection to the NAS, and I have to reconnect to it through the Finder. This is a little bit annoying. Sometimes it happens when it’s supposed to be copying files from one place to another, and I really don’t know whether those files have all been copied or not.
I tried using ChronoSync to synchronise one folder with another, but it didn’t work well because small files are difficult to move across. It goes very slowly when you’re moving many small files together rather than one large file.
I’m not quite sure how it happened, but when it was backing up the photos, it was backing up the phone, and then it was backing up the same photos from the iPad, and then, somehow, it did another backup from the iPad, so I ended up having extra folders full of files that I didn’t need. I just wanted one backup to go across from iCloud and be done with it. I’m still learning what I can and can’t do with this system. On the whole, I’m quite pleased with it, but there are a few rough edges. Perhaps it would have worked better if I had exported all of the files out of the Photos app first, then brought them into the Photos app on the NAS. But I didn’t do that, and it might be too late to go back and do it again. I could if I really wanted to, but it’s a lot of messing about and waiting, and who knows if the system I’ll be putting in place is better or worse than the one I’m using now.
Anyway, The overall user experience is good so far and I’m pleased with it. I’ll add another drive if there are good deals to be had on Black Friday.