Astro Setup
Introduction
This blog post will guide you through the process of setting up Astro, a modern static site generator.
Getting Started
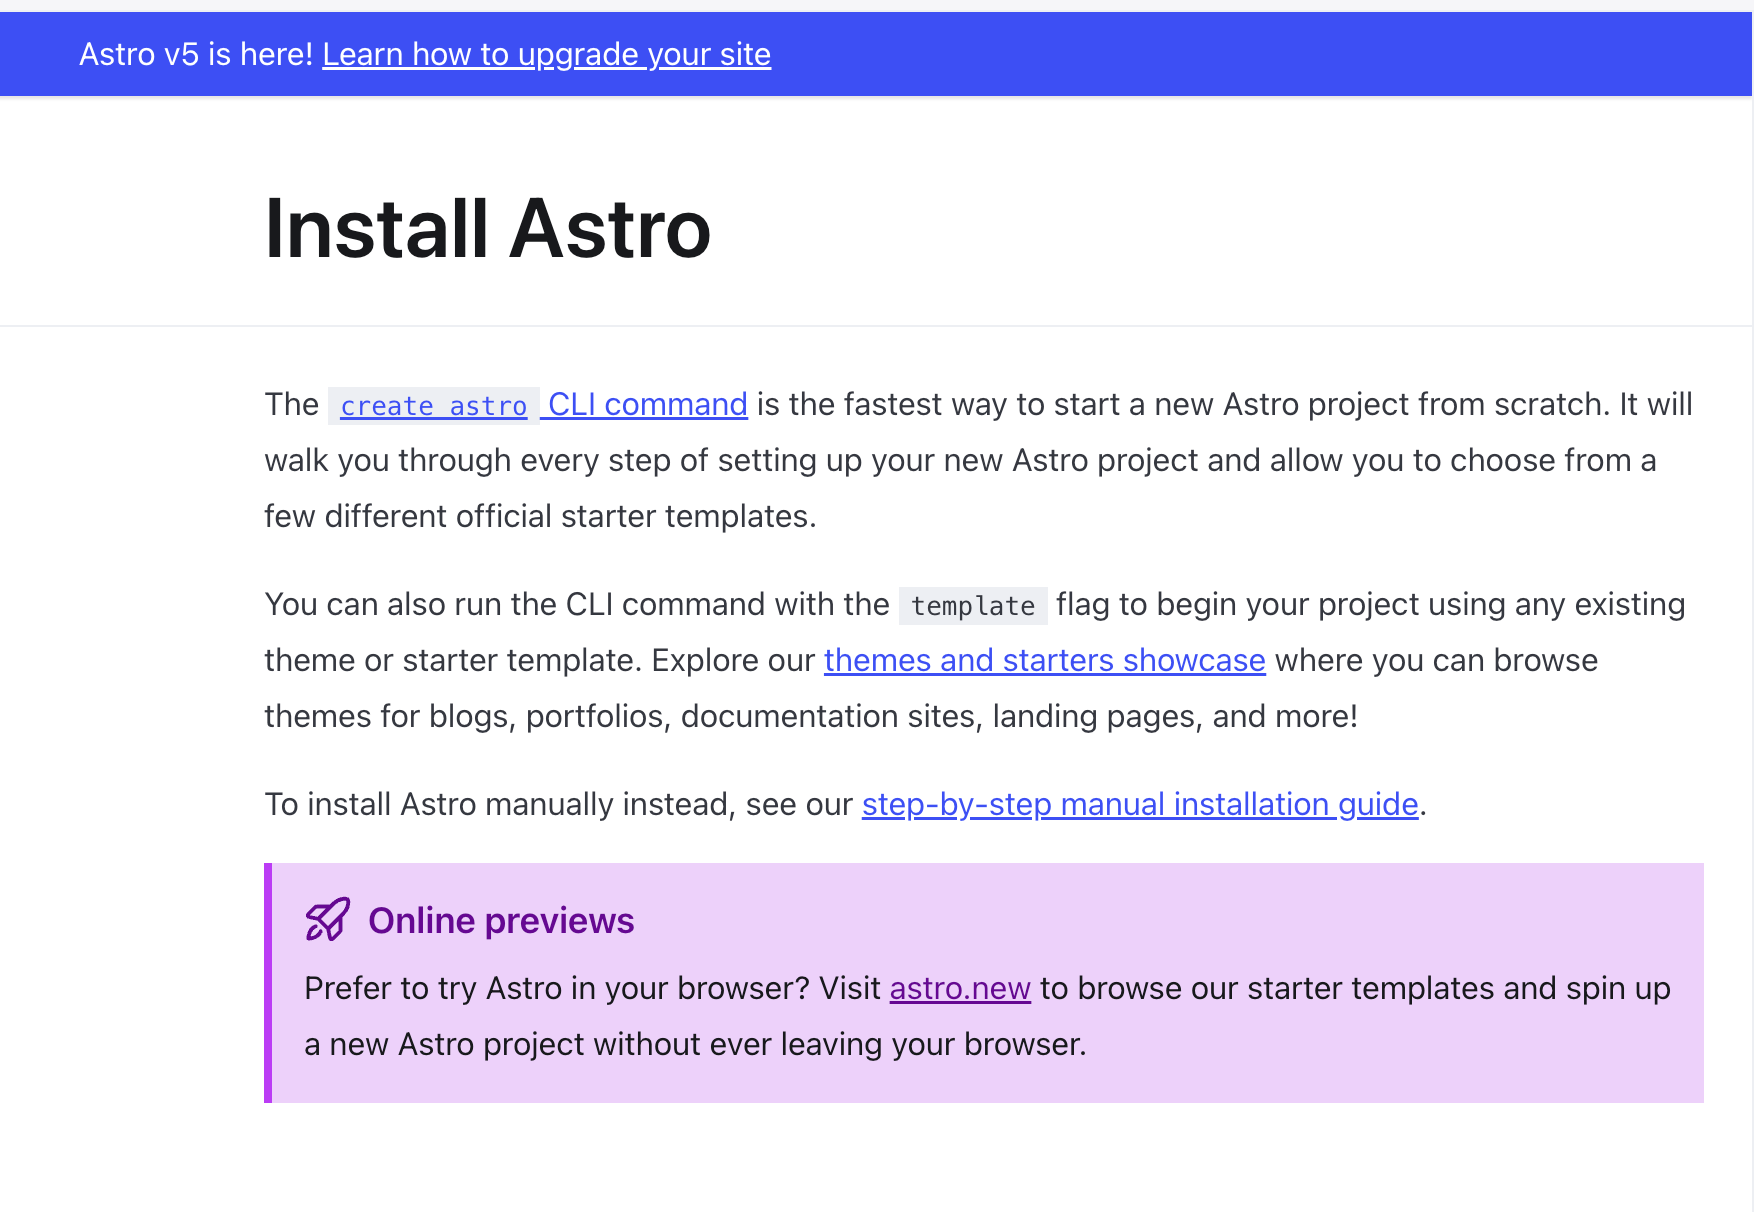
Step 1: Install Astro
To get started, run the following command in your terminal:
npm create astro@latestThis will create a new directory for your project and install the necessary dependencies.
Step 2: Configure your project
Once the project is created, navigate to the project directory and run the following command:
npm installActually you will need to have had npm already installed to run the previous command.
Step 3: Start the development server
To start the development server, run the following command:
npm run devThis will start the development server and open your project in your default web browser. In Windsurf or VS Code you can Command Click on the url to open in a web browser.
Step 4: Build your site
To build your site, run the following command:
npm run buildThis will build your site into the dist directory. You can then deploy it to a static hosting service like GitHub Pages or Netlify. I use Netlify to host my site. So far it has been free, only needed to get a domain name and set up the DNS records.
Step 5: Deploy your site
To deploy your site, run the following command:
npm run deployThis will build your site and deploy it to your chosen static hosting service. You can check it looks ok and then run it again with the —prod flag to build it for production.
Step 6: Add your own content
To add your own content to your site, create a new file in the src/pages directory. For example, create a file called my-page.md and add the following content: