Mac Window Management - Aerospace
Getting the Best from My Mac Desktop Setup
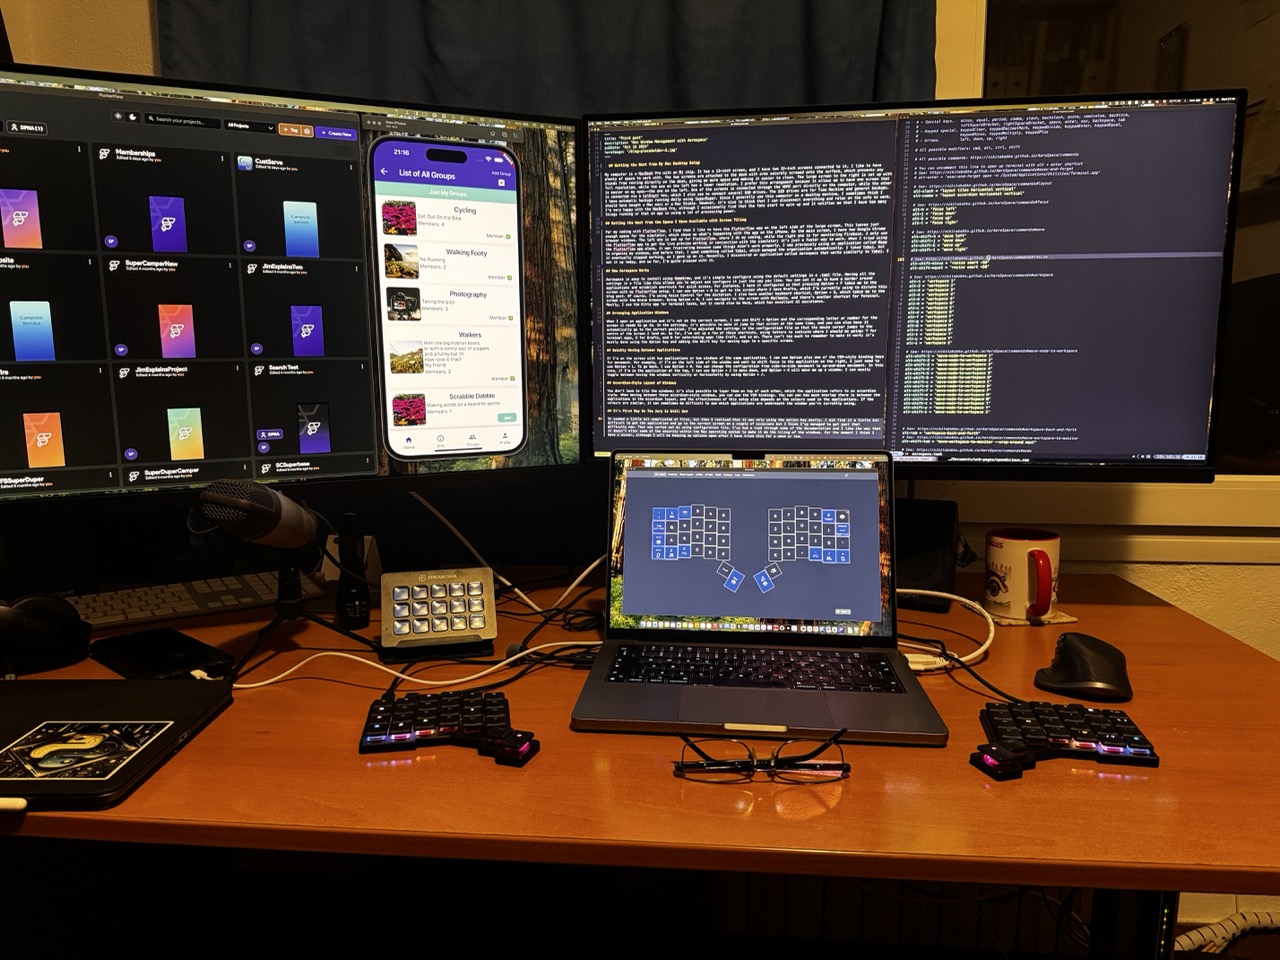
My computer is a MacBook Pro with an M1 chip. It has a 13-inch screen, and I have two 32-inch screens connected to it. I like to have plenty of space to work with. The two screens are attached to the desk with arms securely screwed onto the surface, which prevents any stands from resting directly on the desk, giving me more space and making it easier to clean. The large screen to the right is set up with full resolution, while the one on the left has a lower resolution. I prefer this arrangement because it allows me to have one screen that is easier on my eyes—the one on the left. One of the screens is connected through the HDMI port directly on the computer, while the other is connected via a CalDigit box, which I also use to connect several SSD drives. The SSD drives are for Time Machine and general backups. I have automatic backups running daily using SuperDuper. Since I generally use this computer as a desktop machine, I sometimes think I should have bought a Mac mini or a Mac Studio. However, it’s nice to think that I can disconnect everything and relax on the sofa to work. I’m very happy with the MacBook Pro, although I occasionally find that the fans start to spin up and it notifies me that I have too many things running or that an app is using a lot of processing power.
Changed to Using Apple OS Window Management
I kind of liked Aerospace, but there were a couple of apps that didn’t like it too much. Joseann who did the tutorial about Aerospace came up with a solution using the Mac ways of moving windows around and also with using Raycast. I also have Moom which is good for this sort of thing too. Read how I set it up.

For my coding with Flutterflow, I find that I like to have the Flutterflow app on the left side of the large screen. This leaves just enough space for the simulator, which shows me what’s happening with the app on the iPhone. On the main screen, I have two Google Chrome browser windows. The left one is set up for Flutterflow, where I do my coding, while the right one is for monitoring Firebase. I only use the Flutterflow app to get the live preview working in conjunction with the simulator; it’s just a faster way to work. When I tried using the Flutterflow app alone, it was frustrating because some things didn’t work properly. I was previously using an application called Moom to organise my windows, and before that, I used something called Yabai, which managed the organisation automatically. I liked Yabai, but it eventually stopped working, so I gave up on it. Recently, I discovered an application called Aerospace that works similarly to Yabai. I set it up today, and so far, I’m quite pleased with it.
How Aerospace Works
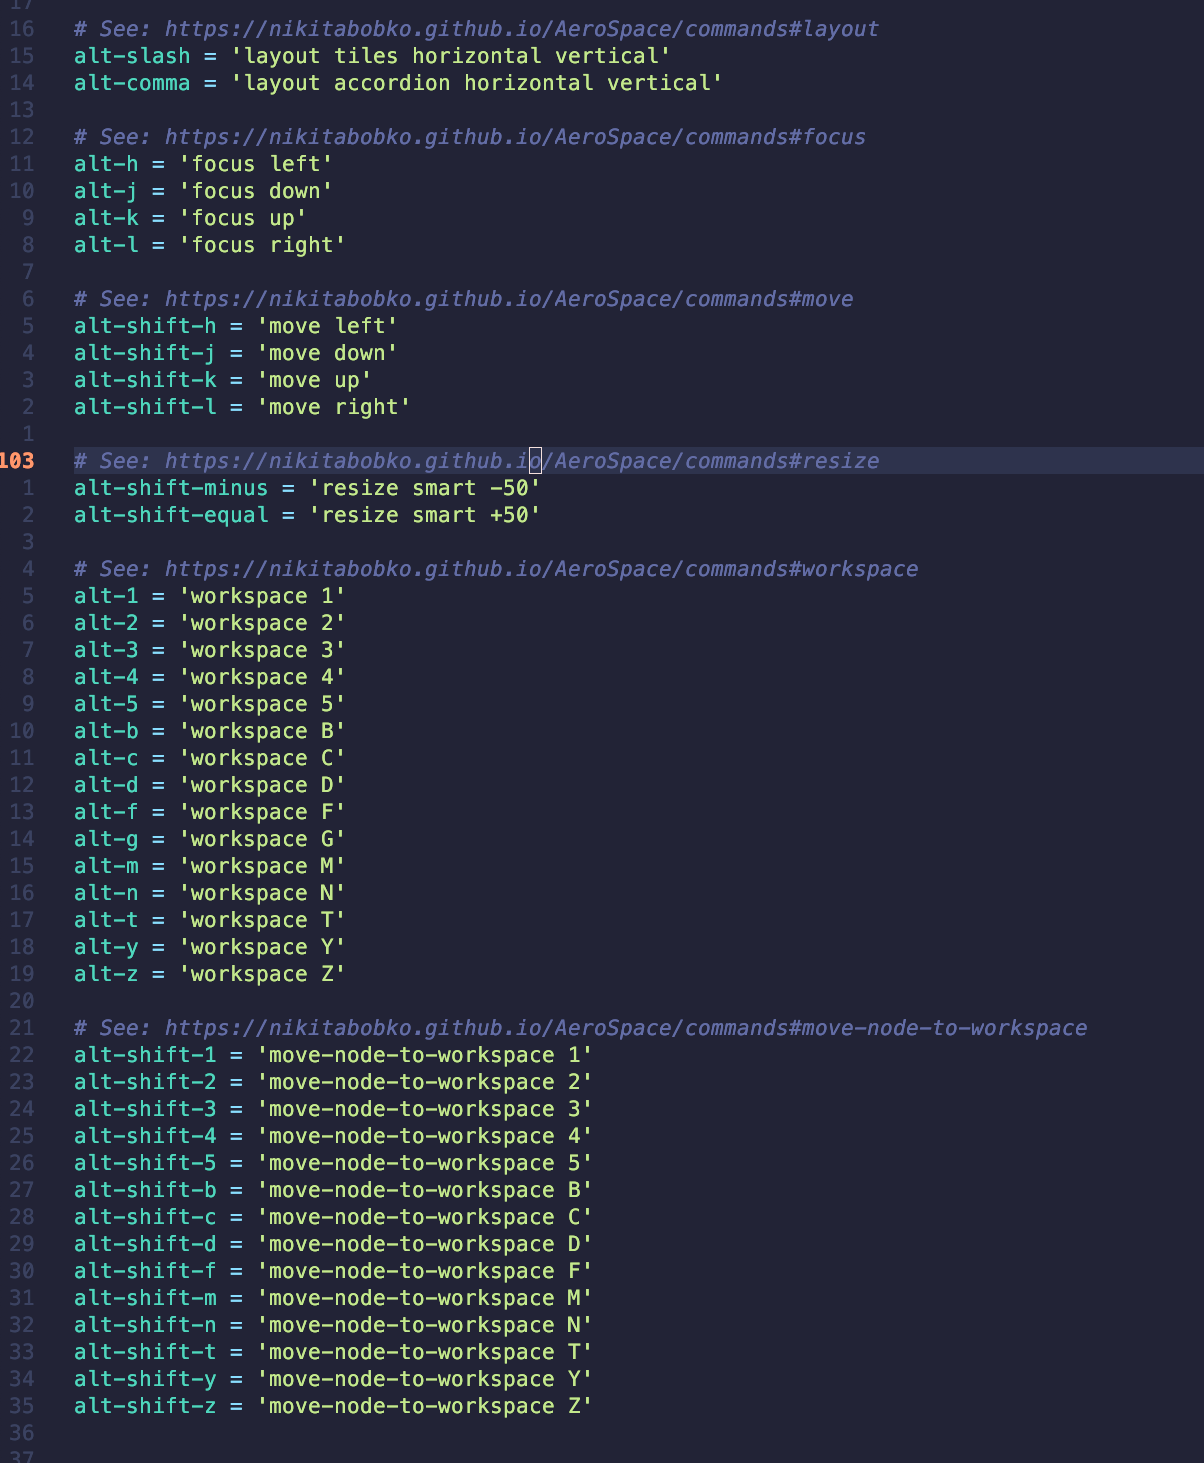
Aerospace is easy to install using Homebrew, and it’s simple to configure using the default settings in a .toml file. Having all the settings in a file like this allows you to adjust and configure it just the way you like. You can set it up to have a border around applications and establish shortcuts for quick access. For instance, I have it configured so that pressing Option + F takes me to the screen with my Flutterflow setup. I can use Option + D to get to the screen where I have Drafts, which I’m currently using to dictate this blog post. Of course, I’m using Voice Control for the dictation. I also have another keyboard shortcut, Option + B, which takes me to the screen with the Brave browser. Using Option + M, I can navigate to the screen with Mailmate, and there’s another shortcut for Terminal. Mostly, I use the Kitty app for terminal tasks, but it could also be Warp, which has excellent AI assistance.
Arranging Application Windows
When I open an application and it’s not on the correct screen, I can use Shift + Option and the corresponding letter or number for the screen it needs to go to. In the settings, it’s possible to make it jump to that screen at the same time, and you can also have it automatically go to the correct position. I’ve adjusted the settings in the configuration file so that the mouse cursor jumps to the centre of the screen I land on. So far, I’ve set up a few of these shortcuts, using letters to indicate where I should be going: T for terminal apps, D for Drafts, and N for note-taking apps like Craft, and so on. There isn’t too much to remember to make it work; it’s mostly done using the Option key and adding the Shift key for moving apps to a specific screen.
Quickly Moving Between Applications
If I’m on the screen with two applications or two windows of the same application, I can use Option plus one of the VIM-style binding keys for movement. For example, if I’m on the left side of the window and want to shift focus to the application on the right, I just need to use Option + L. To go back, I use Option + H. You can change the configuration from side-to-side movement to up-and-down movement. In this case, if I’m in the application at the top, I can use Option + J to move down, and Option + K will move me up a window. I can easily toggle between having the windows vertically or horizontally by using Option + /.
Accordion-Style Layout of Windows
You don’t have to tile the windows; it’s also possible to layer them on top of each other, which the application refers to as accordion style. When moving between these accordion-style windows, you can use the VIM bindings. You can see how much overlap there is between the applications in the accordion layout, and the effectiveness of this setup also depends on the colours used in the applications. If the colours are similar, it can sometimes be difficult to see which applications are underneath the window you’re currently using.
It’s First Day So The Jury Is Still Out
It seemed a little bit complicated at first, but then I realised that it was only using the option key mostly. I did find it a little bit difficult to get the application and go to the correct screen on a couple of occasions but I think I’ve managed to get past that difficulty now. That was sorted out by using configuration file. I’ve had a read through some of the documentation and I like the way that it doesn’t alter some of the security within the Mac operating system to make it do the tiling of the windows. For the moment I think I have a winner, although I will be keeping my options open after I have tried this for a week or two.
Raycast for the Keyboard Shortcuts
I have everything working great now. I have a shortcut like Hyperkey-C to get to Craft. Hyperkey-T to go the Terminal app I use, Ghostty. The Meh Key-P opens Perplexity. They all are set to fill the screen, but not full screen, there is an edge around them.I also have Option-M set to maximise the app.So Aerospace is gone, it was interesting but I found a better way.